Sunday 21 September 2014

Reinvent and Don't Spend A Dime!

There is so much you can do with what you already have.  Whether it's staging your home for sale or redesigning a space in your home for a change, if you have some time, and a little creativity, you may not have to spend a thing.

Walk around your house and look at all the accessories, pillows, throws, pictures and even furniture. Make a mental inventory of what you have.  Now, pick a room, for instance the living room? Really look at what's in there and how you can move things to shake it up a bit.  What really fits and what can you remove? Go back to your mental inventory and picture any other items in your house that would not only add a design element but would also function well.  Move furniture and experiment with new settings. Even small changes can make a huge impact.

Change pictures around on the tables.  Mix up the accessories.  Look at what's on your walls.  Can you change any art around without leaving marks and will the art or decorative pieces work in other locations?  If this is something you will consider doing on a more regular basis then start off with using removable picture hooks/hangers.  Saves a lot of time, you can re-position as needed and you won't be left with any holes to fill and touch up.

Can you change up or move your lamps? A subtle change in lighting can make a room look entirely different, especially with task lighting and heights or lamps.

Look in your linen closet. Do you have any cool throws or quilts etc. that you could drape on a chair or couch?  

What about the lovely basket you received as a gift?  Too good to get rid of but what to do with it?  How would it look beside a chair, holding books, magazines or papers?  By using it this way you will have created a comfortable reading area.

What about the various vases you have that rarely get any use?  (I have a few of them) How would they look on your kitchen counter, holding some nice cooking or baking utensils?

The lovely glass bowl that is never used? Why not put it to use in your bathroom to hold some nice facecloths or soaps or even in your front hall to hold keys and change?  

Use the footstool, that just sits in the corner, to hold and display a variety of blankets, quilts or pillows.

You have a set of napkins that you never use?  Maybe you can attach them to the top of a window treatment as a valance.

You have a set of glass jars that you had purchased to use in the bathroom? Why not clean them up and use them in the kitchen.  Display them on your counter as containers for tea, coffee, sugar, pasta or anything else you may want available. 

Napkin rings as drapery tiebacks?
A lace tablecloth as a window sheer?
A table runner as a valance?
The small occasional table that seems out of place in your living room might be a welcome addition to a washroom or front hall?
The freestanding coat rack that rarely gets used in your front hall might work well in your bathroom to hold towels?
The small bookcase that gets lost in another room might look great in your dining room or kitchen, showcasing any of your pretty china, glassware or accessories and may provide you with an extra service area?  This is great if you have a small dining room or no china cabinet.

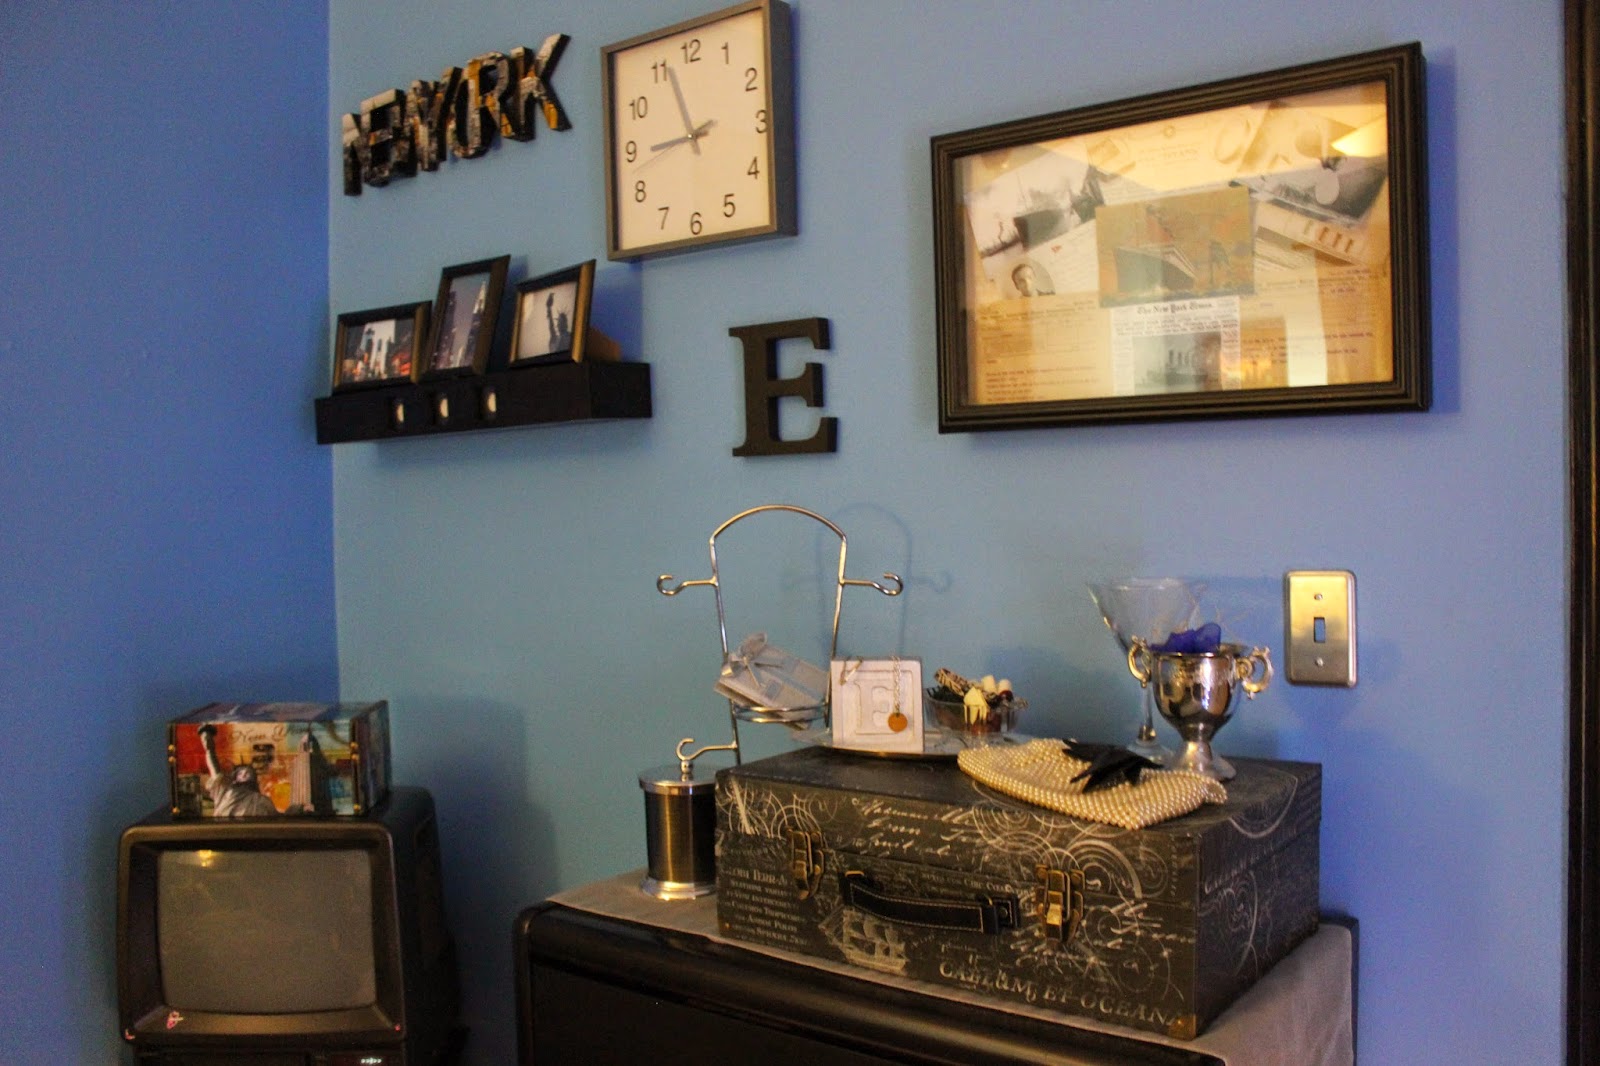
Do you have any purses you don't use?  Any decorative or solid purses can be hung in a bathroom or bedroom to hold jewellery, accessories or even make-up while soft bags can be hung on the back of your closet doors to hold various clothing accessories or lingerie etc., freeing up needed drawer space and providing you with dedicated storage for your items.

These are just a few examples of how you can make changes in your home, using what you already have.  No cost, just an imagination.  Look at any item and picture it in a different setting or having an alternate use.  You will surprise yourself with what you can come up with and how you can reinvent any space with only a few subtle changes. 

Now, go on, you can do it!
Make some changes!!
Have some fun!!!


Thursday 18 September 2014

Paint and more-a link to check out

I don't want to start advertising or promoting companies on this blog-not my goal- but since I will be posting all about paint soon I thought I'd pass on this link.  Looks like a fun kit, with great paint and a few extras.  I will be starting my family room, stairs and landing soon so I may just take advantage of this one myself...http://www.benjaminmoore.com/en-ca/for-your-home/do-it-yourself-with-ben-and-me

Saturday 6 September 2014

A Transformation

I have finally finished my daughter's room.  It took some time to get it the way I wanted it (and the way she wanted it) but it is complete.  She and I are both very happy, content, relieved etc. etc. etc. A lot of work went into this transformation (before, during and even after) but it was all worth it, in the end.

Before, well sort of....

And after............


My daughter wanted a chic, vibrant room that made an impact and, of course, had New York all over it. What can I say, she's growing up and I love a creative challenge. 

First we chose the colour pallet.  Although we  hadn't officially chosen the exact colour, before I started collecting furniture and accessories,  it was decided that the room would be a vibrant blue with black furniture and accents and would have a touch of silver, here and there.  The black and silver really showcase the blue.  Once we had a theme or feel of the room and a general idea of colours I started to look for all of the rest.  This is the part I enjoy.  I started checking clearance sections of my favourite stores, perusing thrift stores , keeping an eye open on all of my local Buy and Sell Facebook groups and even checking for online deals. By taking my time I managed to find some great items for some great prices and everywhere I went I had my  notebook with room dimensions, lists of what I already had, a list of things I still had to get and, of course, a wish list.  I managed to find some great pieces of furniture, terrific window treatments and some really fantastic and funky accessories.  All complete, this room cost approximately $500 which includes all the paint, all the furniture, new draperies, drapery hardware. shelves, frames, throw rugs, the wall poster and all of the accessories.  I painted all of the furniture, which was transforming on it's own, and I managed to find a set of handles for the dresser and side table for a great price at Canadian Tire (10 silver knobs for $15).  I collected all of these items over the course of a few months prior to starting her room and it was so nice when I finally got the chance to set up everything.

There are definite things to keep in mind when you're redecorating any room:

1-PLAN-decide on a feel or theme.  How would you like the room to look once done? Think of colours, textures, accents etc.  If you're still not sure of the overall feel search the web for samples of your "theme" to help you get a clearer picture.  Give yourself time from when you decide to redo that room to when you actually start.  This time gives you a chance to save so much money by finding things on sale etc.  Take advantage of the time, if you can.

2-THE NOTEBOOK-carry this with you because you just never know what you might find.  Draw a basic floor plan with all dimensions and it doesn't have to be perfect or to scale.  Make a list of what items you need such as furniture pieces, window coverings, frames, and anything else you think you want or need.  Make a list of necessary items such as paint and primer, any painting tools, new switch plates etc.  Make a list of anything you'd love to have in the room-your wishlist.  Having all of this information with you will help you take advantage of any clearance items or sales.  You can find things anywhere, anytime and, with the info in your notebook, you can make quick purchases you would otherwise have to pass on due to indecision.

3-PREPARE-I can't stress this enough.  If you have prepared the walls properly then you will have a much easier time with the painting.  Fill any holes and clean and rinse them well. Use a good primer if needed, use good painting tools and make sure you use good paint!! This is where I don't worry as much about cost. Sure I want to save money but I would rather use quality paint in only one or two coats rather than three or four of the lesser quality.  In the long run you are saving money and one heck of a lot of time. Taping off really helps too especially when you''re looking for clean lines and no major fix ups. And don't forget the drop cloths....believe me they help.  As far as painting furniture goes the prep work can be the most important step. Sand (if necessary) and clean well and be prepared to take your time.

4-IT'S ALL IN THE DETAILS-good details finish a room and you can have a lot of fun with this.  Look for items that work together, that really help solidify your 'feel' whether it's bedding, pillows, frames, or chachkis.  Also look for items that can serve dual purposes such as a bed that provides storage or lovely display boxes that might keep all of your normal dresser items out of sight.  Be creative in your thinking and keep in mind that, unless this is your goal, you don't have to fill an entire table top or wall with items.  Sometimes less is definitely more. which will showcase some of your finds and really make the display stand out more.

5-HAVE FUN-BE CREATIVE-redecorating a room is a lot of work but with every step you will see it transform and you will be able to picture it done and looking marvelous.  You may just want to get it done and over with but try to take the time to enjoy the satisfaction once each step is completed. And once that last touch is done, the pillow plumped, and the last chachki placed just right you can step back and take it all in.  If you're anything like me you will go back to the room constantly just to have a look.  


6-Pat yourself on the back...well done! 

Look for the next post-"Paint-A Primer" (don't be afraid)